
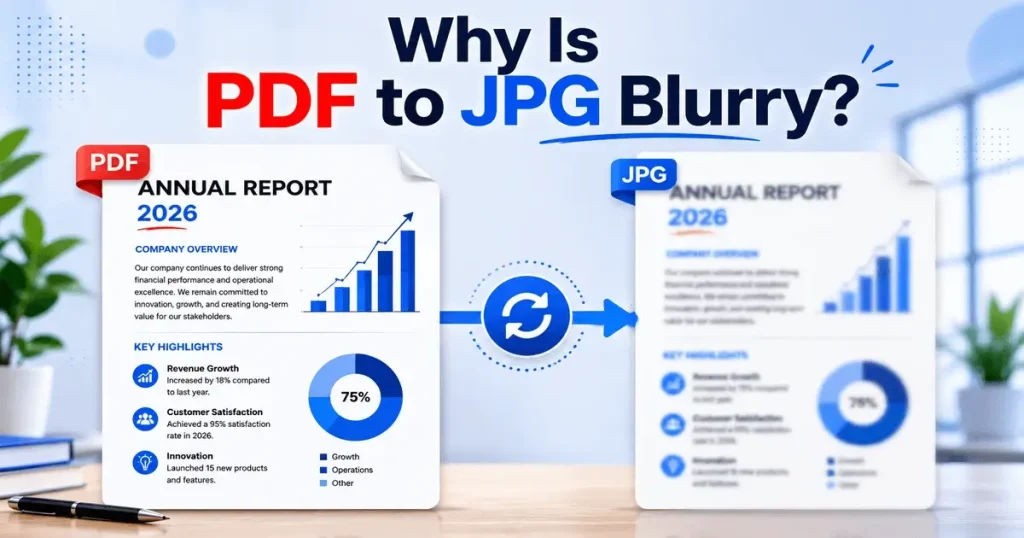
PDF to JPG conversions often turn out blurry because JPG uses lossy compression, and many converters export images at a low DPI by default. Using 300 DPI or higher, selecting the highest quality setting, and avoiding image resizing after export will keep your converted JPG sharp and clear.
This is one of the most common issues people run into when sharing documents, uploading images online, or preparing files for print. In most cases, the problem isn’t the PDF itself. It’s the export settings used during conversion. This guide explains why PDF to JPG becomes blurry, how to identify the cause, and the best ways to keep your converted images sharp without losing quality.
Why Does PDF to JPG Become Blurry?
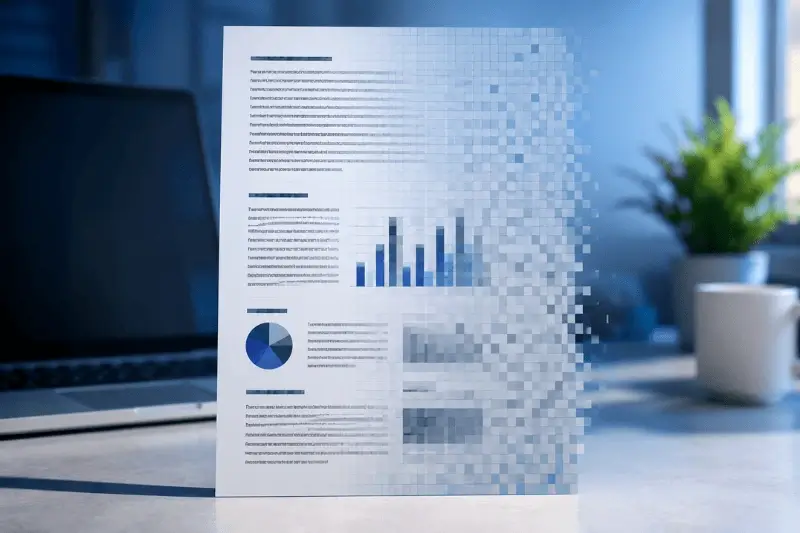
PDF files become blurry after conversion because vector elements are turned into pixels. If the converter uses a low DPI setting or applies strong JPG compression, the final image loses detail. Using a higher DPI and better quality settings usually solves the problem. Here are the main reasons this quality drop happens.
Low DPI Export
DPI stands for dots per inch, and it controls how many pixels get packed into every inch of the image. Most converters default to 72 or 96 DPI, which is fine for a quick screen preview, but it often makes the JPG look blurry when you zoom in or print it. For better quality, use 300 DPI or higher.
JPG Compression
JPG saves images in a smaller file size by removing some details. This trade-off works reasonably well for photos, but it hits text and sharp edges hard. Letters can look smudged, and straight lines sometimes get a soft, blurry edge around them.
Rasterization
Rasterization means turning vector content into a fixed grid of pixels. Most PDFs use vector text and graphics, so they stay sharp no matter how much you zoom in. Once converted to JPG, that flexibility disappears, and the output is locked to a specific resolution.
Low-Quality Images Inside the PDF
Sometimes the blur isn’t caused by the conversion at all. If the original PDF already contains a low-resolution photo or a poorly scanned page, converting it to JPG will only carry that low quality forward. No converter can add detail that was never there in the first place.
Resizing After Conversion
Stretching a JPG to a larger size after it has already been exported is one of the fastest ways to introduce blur. Since the pixel grid is fixed, enlarging it just spreads the same pixels over a bigger area, making everything look soft and pixelated.
Poor PDF Converter
Some PDF converters automatically optimize the image during conversion, while others offer advanced settings such as DPI and compression. If your converter doesn’t include these options, start with a high-quality PDF to get the best possible result.
How to Identify What’s Causing the Blur
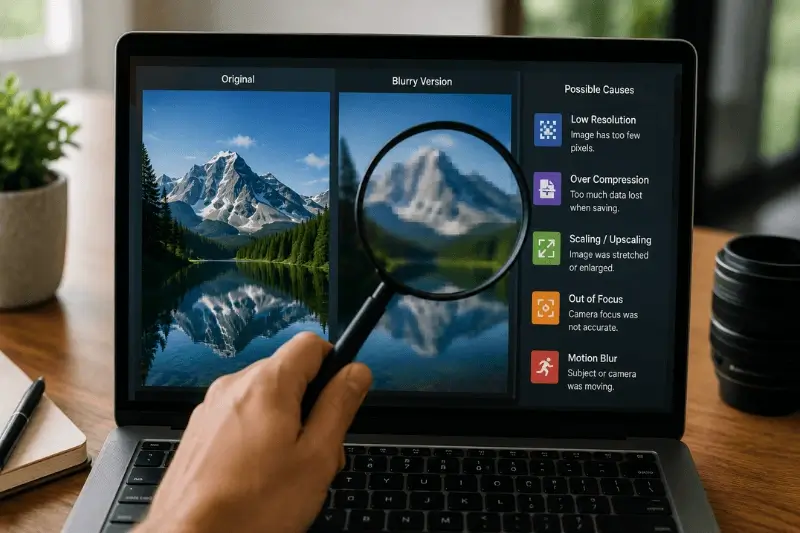
Before applying a fix, it helps to pinpoint exactly where the problem is coming from. Use this quick checklist:
- Text only looks blurry: Usually a DPI or compression issue.
- Whole page blurry: Likely a low DPI export or a low-quality original PDF.
- Only images blurry: The source images were probably low resolution.
- Blurry only when printing: DPI is too low for print resolution.
- Blurry after zooming: The image was enlarged beyond its original size.
Once you know which scenario matches your case, jump to the matching fix in the sections below.
Quick Fixes to Try First
If you just want the fastest way to fix a blurry PDF to JPG conversion, start here:
- Export at 300 DPI instead of the default 72 or 96 DPI.
- Use PNG if the PDF is mostly text, logos, or line art.
- Increase the JPG quality setting to maximum or 100%.
- Avoid resizing the image after it has been exported.
- Use a better converter that lets you control DPI and compression.
- Re-export from the original PDF rather than converting a JPG that has already been compressed once.
These six steps solve the majority of blurry PDF to JPG problems without any technical background needed.
How to Convert PDF to JPG Without Losing Quality
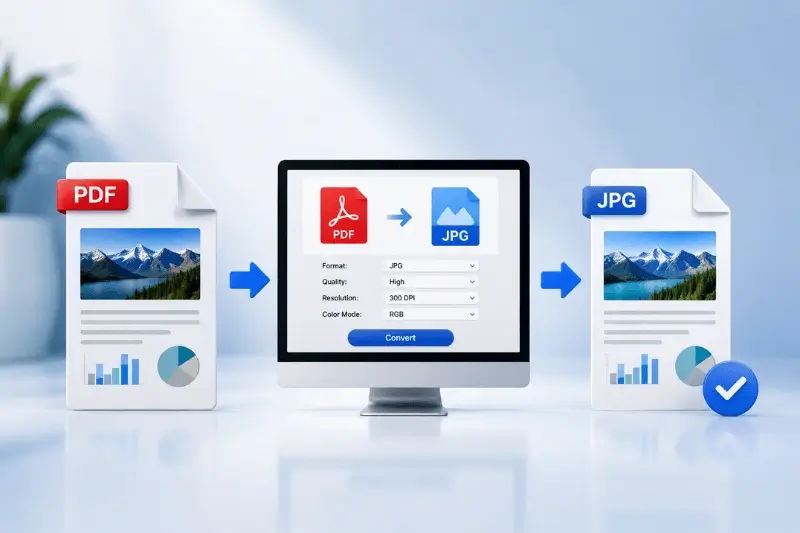
This is the part that matters most, so let’s go step by step. Getting this right doesn’t need any special skill or expensive software. A few small adjustments can turn a blurry JPG into a sharp one. Here’s exactly what to change and why it matters.
Export at 300 DPI
Open your PDF in the converter or software of your choice, then look for a resolution or DPI setting before exporting. Set it to 300 DPI for general use, or higher if you plan to print large formats. A higher DPI means more pixels are captured, which keeps text edges and fine lines sharp.
Choose Maximum JPG Quality
Most tools offer a quality slider or percentage, often ranging from 0 to 100. Always pick the highest available option when quality matters more than file size. A small increase in file size is a fair trade for a noticeably sharper image.
Use PNG Instead
If your PDF contains mostly text, a logo, or a screenshot, PNG is usually the better format. It uses lossless compression, so nothing gets discarded during export. The file size will be a bit larger, but the sharpness stays intact.
Keep Original Size
Avoid stretching or resizing the image after conversion. If you need a larger version, go back to the original PDF and export it at a higher DPI instead of enlarging the JPG you already have.
Choose a Better Converter
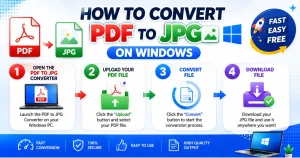
Not every PDF converter gives the same image quality. Some reduce resolution or compress heavily by default, while others let you control DPI, quality, and compression. Look for a tool that gives you this control before exporting. If you’re on Windows, here’s a full guide on converting PDF to JPG on Windows.
Rescan at 300 DPI
If your PDF came from a scanned document, the blur may have started at the scanning stage. Whenever possible, go back to the original paper document and rescan it at 300 DPI or higher. Fixing the source is always more effective than trying to sharpen a low-quality scan afterward.
Best DPI for PDF to JPG
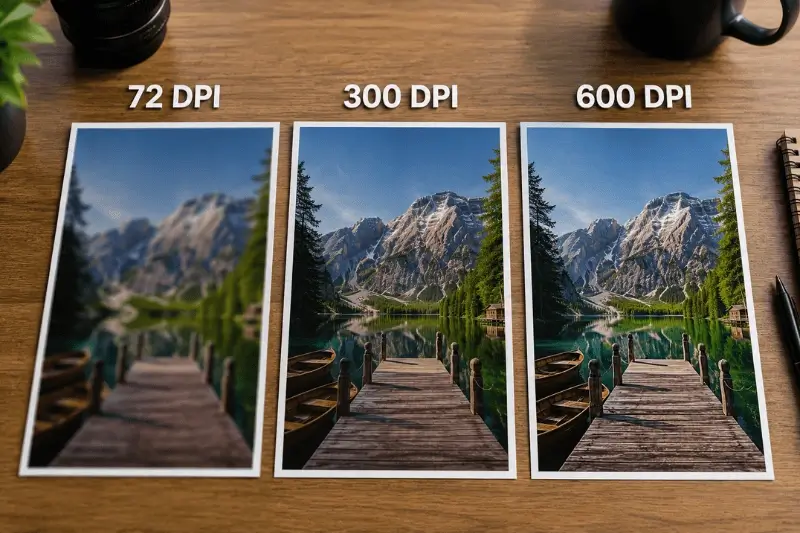
Not every JPG needs the same resolution. The right DPI depends on where the image will be used. Here’s a quick reference to help you choose.
| Use Case | Recommended DPI |
| Email attachment | 96 |
| Website upload | 150 |
| Printing | 300 |
| Poster or large format | 600 |
Choosing the right DPI for your specific use case avoids unnecessarily large files while still keeping the image sharp enough for its purpose.
Best PDF to JPG Settings
DPI is just one piece of the puzzle. A few other settings also affect how sharp your final JPG looks. Here’s a quick summary of the values that work best in most situations.
| Setting | Best Value |
| DPI | 300 |
| Quality | 100% |
| Compression | Low |
| Resize | No |
| Color | RGB |
These settings work well for most documents. For professional printing, check with your printer first. Many print shops prefer CMYK instead of RGB.
When JPG Is the Wrong Choice
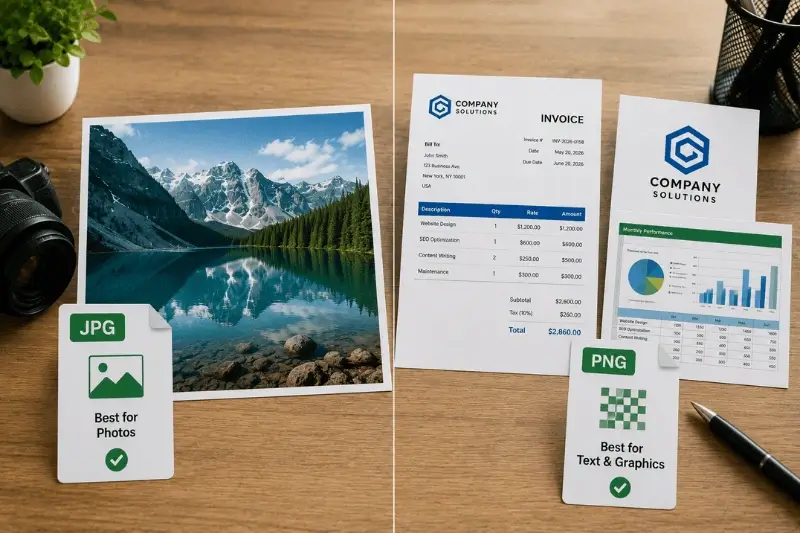
JPG is a great format for many things, but it isn’t always the right one. Knowing when to switch to PNG can save you a lot of frustration later.
Choose PNG If Your File Contains
- Text-heavy pages
- Logos
- Line art or diagrams
- Screenshots
Choose JPG If Your File Contains
- Photographs
- Content meant for fast web loading
- Large images where file size matters more
In short, use JPG when you need smaller file sizes and are working with photos, since it compresses well. Choose PNG instead when you want to preserve sharp text, graphics, or images that need transparency.
How Different PDF Types Affect Quality
Not every PDF behaves the same way during conversion. The type of content inside the file, whether it’s text, vector graphics, or a scanned image, plays a big role in how sharp the final JPG turns out.
Text PDFs
Text PDFs are usually made of vector text. So they convert cleanly as long as the DPI is high enough. Blur here almost always comes down to a low DPI setting.
Vector PDFs
Vector PDFs contain shapes and paths that scale perfectly at any size within the PDF itself. Once rasterized into JPG, that scalability is lost. So a high DPI export is essential to preserve detail.
Scanned PDFs
Scanned PDFs are already raster images to begin with. If the original scan was done at a low resolution, no converter setting can bring back missing detail.
Image-based PDFs
Image-based PDFs behave similarly to scanned PDFs. The quality of the final JPG can never exceed the quality of the image that was embedded in the PDF originally.
Popular PDF to JPG Converters
This table compares five popular PDF to JPG tools based on image quality, conversion speed, and installation requirements.
| Tool | Works Online | Free Version | Best For |
| PDF Conveter | Yes | Yes | Quick |
| Adobe Acrobat | Yes | Limited | Professional |
| Smallpdf | Yes | Limited | Casual |
| iLovePDF | Yes | Yes | Batch |
| PDF24 Creator | No | Yes | Offline |
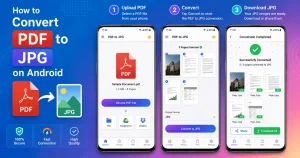
If you need a quick conversion without installing anything, a web-based converter like PDF Conveter is a convenient choice. Looking for a mobile-friendly option? Check out our curated list of the best PDF converter apps for Android to convert your files on the go.
Common Mistakes That Make JPG Blurry
Even with the right converter, small habits can still ruin image quality. Here are the mistakes that show up most often.
- Using the default 72 DPI setting without checking it first
- Uploading a PDF that has already been compressed once before
- Enlarging or zooming into the image after conversion
- Choosing a “low quality” or “small file size” export option
- Taking a screenshot of the PDF instead of using a proper converter
Avoiding these five habits solves most quality issues before they even start.
Frequently Asked Questions
Why is my PDF blurry after converting to JPG?
A PDF usually turns blurry in JPG form due to a low DPI setting, heavy JPG compression, or a low-resolution image already inside the original file. Checking these three factors solves most blurry conversions.
How do I keep image quality when converting PDF to JPG?
Export at 300 DPI or higher, choose the maximum quality setting, and avoid resizing the file after conversion. These three steps preserve sharpness in almost every case.
Is PNG better than JPG for PDF conversion?
PNG is better for text, logos, and screenshots since it uses lossless compression. JPG works better for photos or when a smaller file size matters more than perfect sharpness.
Why is my scanned PDF blurry even after conversion?
If the original scan was low resolution, converting it to JPG cannot add back detail that was never captured. The fix is to rescan the document at a higher DPI.
What’s the best DPI for printing versus web use?
Use 300 DPI for printing and 150 DPI for general web use. Emails and quick previews can stay closer to 96 DPI.
Can I fix a blurry JPG after it’s already been converted?
Not fully. It’s better to go back to the original PDF and re-export it with higher DPI and quality settings than to try sharpening an already blurry file.
Final Thoughts
Now that you know why PDF to JPG becomes blurry, you can avoid the most common mistakes by using the right export settings. Start with a high-quality PDF, choose 300 DPI whenever possible, avoid resizing after conversion, and select PNG for text-heavy documents. These simple steps will help you produce sharper JPG images every time.
Need a quick way to convert your files? Try our free PDF to JPG converter and create high-quality JPG images in seconds. No software installation required.